
You’re moving and it’s time to pack your kitchen. From appliances to crystal wine glasses, the kitchen runs the gamut of special packing needs and techniques. But first you need to decide the timing. If you’re okay living off restaurant food or eating off paper plates, you can pack up your kitchen all at once. Many people decide to do it in stages, packing up the things you don’t use first, and saving the everyday items until right before the move. Once you figure out which approach works best for you, you can get started tackling kitchen packing by type of item.
How to Pack Your Refrigerator
If you’re bringing your refrigerator with you, there are a few steps you’ll need to take time to prepare it for the move. Start by considering how you want to handle any food you don’t want to take with you to your new home. You can share frozen and fresh foods with neighbors and friends, and consider bringing extras like condiments and salad dressings to the office and put them in the shared fridge for your coworkers.
Contact an appliance specialist to find out what needs to be done to make sure your appliance can be safely moved. That might include addressing high-voltage connections, disconnecting the water line, draining the reservoir, and, in some older models, bolting down the motor and/or compressor.
The day before the move, defrost the freezer and clean the entire refrigerator with warm water and a mild soap. You can then prop the doors open overnight to help it dry completely. The next day, use masking tape to secure all the drawers and compartments so they won’t get damaged during the move. Remove shelves and pack them in a separate box.
How to Pack Your Dishes and Breakables
For your plates, bowls and glasses, pick up dish boxes, which are moving boxes specifically designed to protect your dishes. They’re built with an extra layer of cardboard, which will give the padding needed to endure the bumps and jostling that can occur during a move. Dish sleeves, which are made from a thin, foam material, come in small and large sizes, and give each plate a safe cushion of protection. Put one plate in each sleeve and stack them vertically in your dish box. Then add crumpled newspaper or packing paper to fill the gaps in the box. The more extra padding, the better!
| Want moving supplies delivered to your door? Save time and money with fast, free shipping on boxes and other moving supplies. Order online now. |
Glasses, teapots and vases — anything that’s “hollow” inside — should be filled with crumpled paper before being individually wrapped. That helps keep these delicate items stronger and they’ll be less likely to break if they end up getting stacked under a heavier box. Be sure to order dish boxes and other packing supplies ahead of time, so you’ll have what you need when you start. Learn more ways to keep delicate items protected in how to pack boxes for moving and the art of packing.
How to Pack Cutlery and Kitchen Accessories
You can gather silverware by type and wrap them in dish towels or ziplock bags. For steak and cutting knives, cover them with the blade sheaths that came with them if you still have them. If not, you can create your own protective sheaths with pieces of cardboard. Cut the pieces into strips bigger than the blade; place the blade between two pieces of cardboard and secure with tape. For other kitchen tools, group by size, and pack short, medium, and longer items together, respectively. You can either wrap them in packing paper or use shoe boxes or food storage containers to keep the tools organized in the main box.
How to Pack Small Appliances
If you still have the original boxes and packaging for small appliances like your toaster, coffee pot, and slow cooker, clean the appliances and repackage them like they were new. They’ll stay snug and safe during your move. If you don’t have the original packaging, you can take a large box and place a layer of packing paper or a heavy towel in the bottom to help fortify it. Then disassemble the appliance (if it’s supposed to be disassembled) and wrap each element separately (lids, inserts, attachments, etc.) with plenty of packing paper or bubble cushioning roll. Put heavy pieces (like the pot from your crockpot) on the bottom of the box, and carefully place the smaller parts inside or around the bigger pieces.
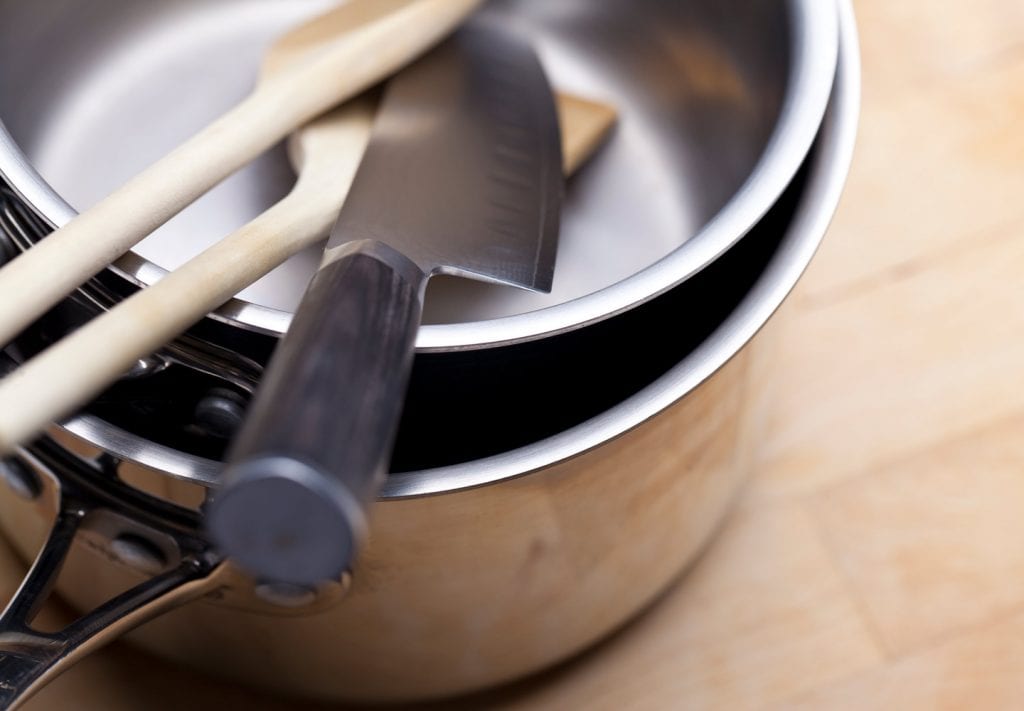
How to Pack Pots and Pans
Pull out all the pots and pans on to your counter and organize by stackability. Put frying pans on the bottom, then baking and casserole pans, then sauce pans. Although pans are durable, it’s smart to separate each with some packing paper to avoid scratches. Individually wrap the lids and wedge them into the corners of the box, including plenty of extra padding around them.
How to Pack Baking Sheets
Treat baking sheets similarly to pots and pans, lying flat at the bottom of the box, and separating each with a layer of packing paper. Carefully wrap breakable baking pans in bubble cushioning roll or multiple layers of packing paper and place smaller pans inside bigger pans. Fill any open spaces with dish towels, oven mitts, or more packing paper.
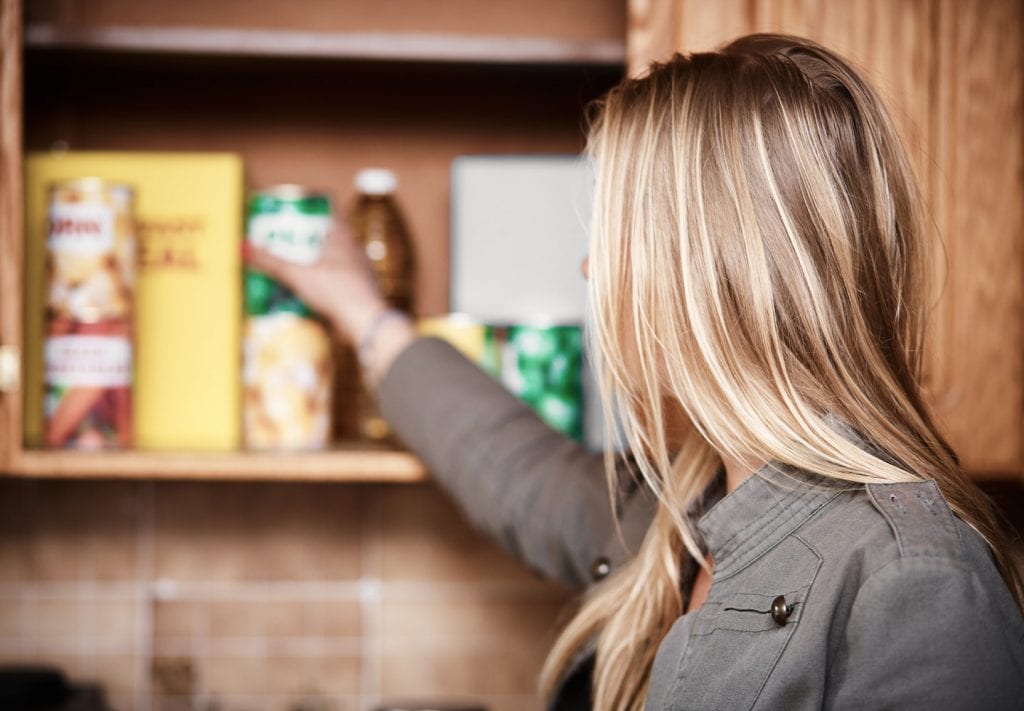
How to Pack Food and Pantry Items
Now is a great time to lighten up your pantry and donate to your local food bank. It’ll give you less to carry on moving day, and you’ll be helping out your old neighborhood by providing quality food to folks in need. Pack or toss the open items — like flour, rice, and spices. But any canned food, dry pasta, beans or rice that’s never been open can be donated. Just make sure you’ve saved a few easy-to-make essentials — like your favorite soup or boxes of macaroni and cheese — to keep you going the first week in your new home.
Use a smaller box for packing up the pantry items you’ll be taking with you. These items will probably be heavy, and it’s easier to move heavy items in small boxes. Start with the heavy stuff on the bottom, like canned foods. If you tend to keep your sugar or flour in their original, open containers in your pantry, transfer them to food storage containers or ziplock bags prior to packing. You don’t want to open up a box full of powder when you get to your new home. Individually wrap spices and place soft items, like bags of rice, nuts, or dried fruit in the nooks and crannies of the box. As always, use as much crumpled packing paper as you need to fill the box.
How to Pack Cleaning Supplies
If you keep cleaning supplies in your kitchen, pull out the things you know you’ll need to do your final cleaning and set them aside in a tote or bucket. This might include dish soap for those last-minute pieces you forgot to pack, sponges and gloves, spray cleaner, scouring tools, and paper towels.
For the remaining items, consolidate whatever is left with the other cleaning tools and supplies in your house. If you want to avoid the hassle of packing the cleaning products altogether, you can gift them to your neighbors. But if you’d rather bring them to your new home, there are a few tips for safe packing. Place a bath towel on the bottom of a box, then carefully package each of the cleaning items to help protect against spills. For open bottles of cleaning solution, unscrew the top, place a layer of cling wrap over the opening, and then screw the top back on. Then wrap the entire container with several layers of cling wrap and tape securely. This double protection will help contain leaking if there are spills during the move.
For many homes, the kitchen is the center, where everyone gathers to eat and catch up and laugh. It may be one of the last rooms you decide to pack. But with a focused plan on how to organize, wrap, pack, and protect your kitchen items, you can box up the room pretty quickly and be ready to recreate that new gathering place in your new home in no time.
Related Articles
Comments
Leave a Comment
Your email address will not be published. Required fields are marked *